Set up a custom white-labeled subdomain
Improve your guest experience by white labeling your custom subdomain in your Guest Portal link.
*Please note this service is only available for property managers with 50+ listings.
In order to provide the best guest experience, we strongly encourage you to set up a white-labeled custom subdomain to be used as the Guest Portal link in your messages. Instead of directing guests to https://verifyhub.org/confirmation%5Fcode, they'll see subdomain.yourdomain.com/confirmation_code.
Here are the steps:
- Let your account manager know which subdomain you'd like to use. The most popular choices are:
checkin.yourdomain.com
hello.yourdomain.com
guest.yourdomain.com
welcome.yourdomain.com
my.yourdomain.com
stay.yourdomain.com
But it can be anything you'd like—just let us know! 2. We will create DNS records for you to set up your custom subdomain with your DNS provider. They will look like this:
First record:
Type: CNAME
Name (or Host): THIS WILL BE PROVIDED
Value (or Points to): THIS WILL BE PROVIDED
Second record:
Type: CNAME
Name (or Host): THIS WILL BE PROVIDED
Value (or Points to): snapcheck.in
3. Once you create the DNS records, let your account manager know as we'll still need to run a final confirmation and approve it on our end.
4. Update your messages: As soon as your account manager confirms that the subdomain has been successfully set up, you can go ahead and replace all Guest Portal links in your messages and change them from https://snapcheck.in/.... to the new subdomain.yourdomain.com/....
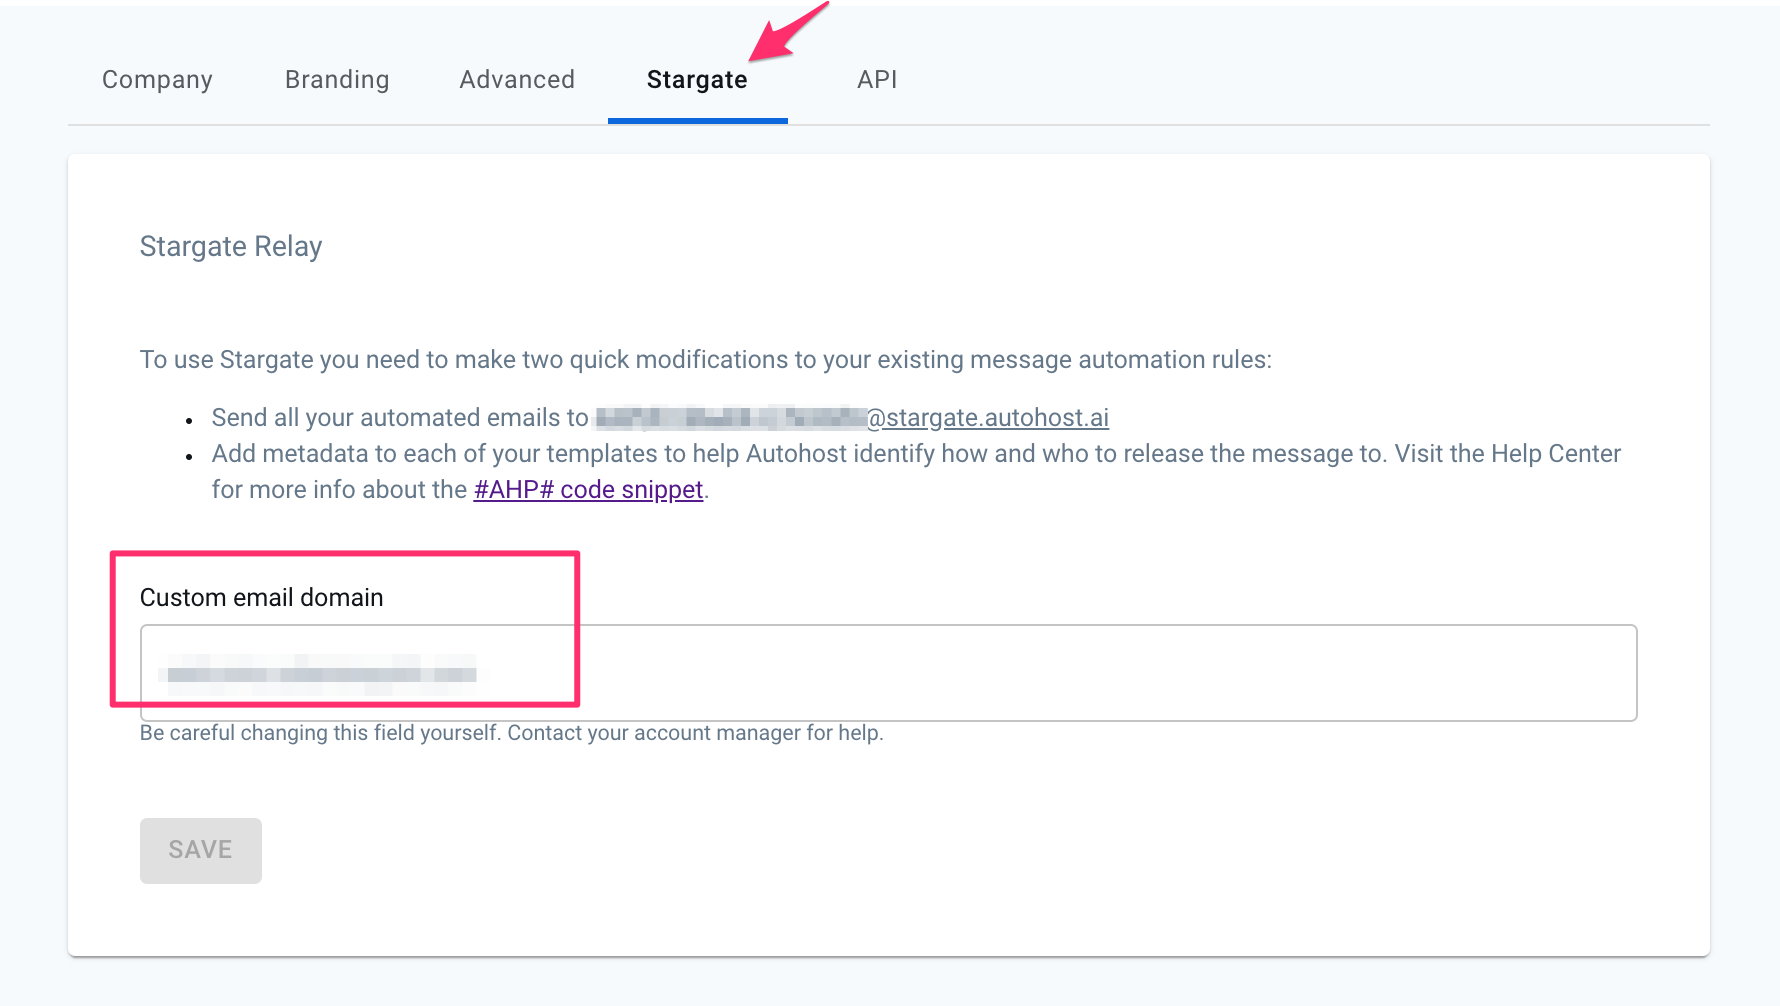
5. Lastly, make sure to also update the final white-labeled domain name in your Autohost dashboard (Settings > Advanced > Custom Domain) to ensure that the Guest Portal links that appear in your dashboard are all accurate (here, simply enter your specific subdomain, without the 'https' and without the confirmation code: subdomain.yourdomain.com)

If you run into any issues along the way, let us know! We'll be happy to help.