Streamline Integration Guide
Learn how to integrate Autohost with your Streamline account.
Activation Steps
- Log on to Streamline, and go to Main Menu > Third-Party Integrations > Self-Serve Onboarding.

- Locate Autohost. Once found, click Get Tokens.
- Copy and store the API Key and the Secret Key in a safe place.
- Next, click on the Integration Link provided to you by your Account Manager. Once you've opened the link, check the box next to the Streamline logo and click Continue.
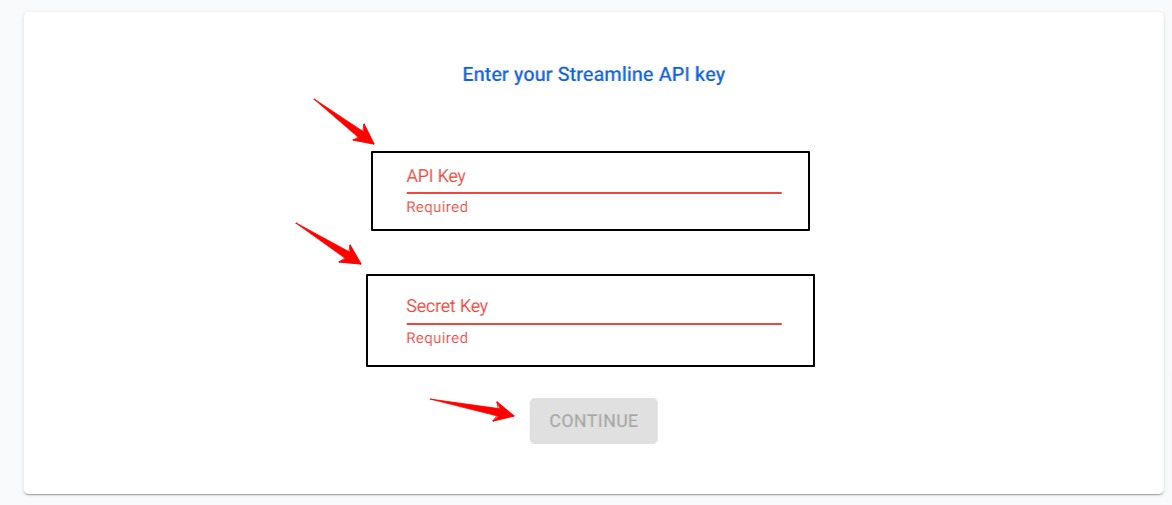
 5. Proceed to enter your API Key and Secret Key.
 6. This step will now create your Autohost account and import your existing listings.
 7. Once accounts have synced, a prompt will appear asking you to enter your information and fill out your credit card information. Go ahead and do this to set up your account.
8. Once complete, you will be directed to the main page of your Autohost account.
9. Great job! You're one step closer to automating your guest screening process. Click here to continue setup your account.
Custom Fields
For Autohost to push verification statuses back to your PMS, you must create a few "flags" on Streamline. Use the following steps to do so:
- Navigate to Tools > Configuration Settings > Manage Reservation Flags
/streamline-tools-manage-reservation-flags-1.png)
- Select Add Reservation Flag
/streamline-add-reservation-flags-1.png)
- Enter the following:
Name: AUTOHOST_STATUS
Short Description: Autohost Verification Status
Repeat this process for the following field:
Name: AUTOHOST_REVIEW_REASON
Short Description: Autohost Review Status Help
Once more, repeat the steps above for the following field:
Name: AUTOHOST_ID
Short Description: Autohost Reservation ID
Lastly, repeat the steps above for the following field:
Name: AUTOHOST_GP_COMPLETED
Short Description: Guest Portal Was Completed